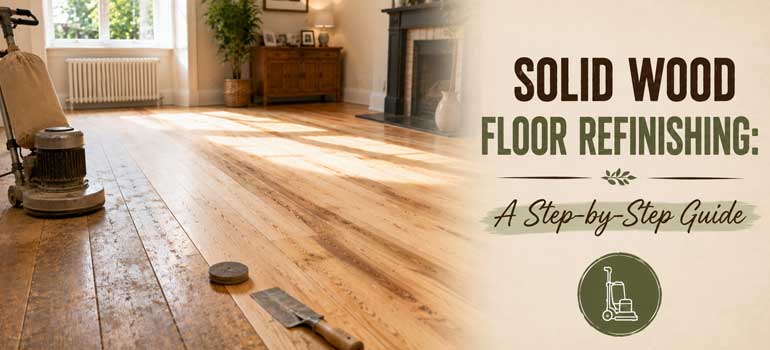
Solid wood flooring earns its reputation for longevity largely because of what happens under the surface: it's made from one continuous piece of timber rather than a thin veneer, which means it can be sanded and refinished repeatedly across a lifespan that stretches well past a century with proper care. Refinishing is the process that makes this possible, and understanding the steps involved makes it much easier to know what to expect when your floor needs it.
Why solid wood specifically holds up to repeated refinishing
Unlike engineered floors, which have a thin real-wood layer over a plywood base, solid wood boards are timber the whole way through, typically 18 to 22mm thick. That full-depth structure is what allows repeated sanding without the risk of cutting through to a base layer, and it's also why solid wood is more particular about moisture than engineered alternatives; the same solid structure that makes it so durable also means it responds more noticeably to humidity changes and water exposure than a layered construction would. Proper subfloor preparation and acclimatisation of the timber before installation, giving the boards time to adjust to the room's humidity, matters more with solid wood for exactly this reason.
Signs it's time to refinish
The most common trigger is simply a worn protective finish. Every solid wood floor is sealed with a lacquer or oil that protects the surface, and years of foot traffic gradually wear that layer down, first in high-traffic paths, eventually across the whole room. Left unaddressed, a worn finish leaves bare wood exposed to staining, moisture, and further physical wear, which is a bigger and more expensive problem than a timely refinish would have been.
Why refinishing beats replacement
Refinishing costs less, takes less time, and causes far less disruption than a full floor replacement, and it delivers results that are comparable to a brand-new installation. Where replacement means lifting the existing floor, disposing of it, and fitting new material entirely, refinishing works with the boards already in place, preserving the character and grain the floor has built up over years while resetting the surface completely.
The refinishing process step by step
- Sanding. Wood floor sanding comes first and is arguably the most important stage in the whole process. It removes the old finish along with any scratches, gaps, dents and staining on the surface, levelling the wood and opening its pores so the next products applied can bond properly. Because solid wood is thicker than engineered flooring, it tolerates more frequent and deeper sanding over its life, which is part of why it's such a popular long-term choice for period properties.
- Staining (optional). If you're refinishing anyway, it's a natural moment to reconsider the floor's colour, whether that's staying close to the natural wood tone or shifting to something noticeably different with wood floor staining. Since the wood's pores are freshly opened straight after sanding, this is exactly when stain absorbs most evenly, applying it later or over an unsanded surface tends to look patchy by comparison.
- Finishing. This step seals and protects the work. Generally, matching the previous finish type gives the most predictable result, if the floor was lacquered before, staying with lacquer avoids compatibility issues, and the same applies to oil-based finishes. If you're not sure what was used previously, a professional can usually identify it during assessment rather than guessing. This is also a good point to weigh up options like hard wax oil for a more natural texture, or a specific product line such as Bona Traffic HD or Junckers HT700 for a tougher, high-traffic lacquer.
Getting the finish choice right the first time
Since a full refinish isn't something you'll want to redo again soon, it's worth taking the time to compare finish options rather than defaulting to whatever was used previously out of convenience. A room with heavy daily use, a busy hallway or a family kitchen, benefits from a traffic-rated lacquer, while a quieter living space might suit the more natural feel of an oiled finish better. Getting this decision right at the refinishing stage saves having to make compromises for years afterwards.
If your solid wood floor's finish is showing wear, get in touch for a free, no-obligation quote and we'll assess the floor and talk through sanding, staining and finish options suited to how the room's actually used.
Frequently asked questions
How many times can a solid wood floor be refinished? This depends on the original board thickness, but most solid wood floors can be sanded and refinished multiple times, often supporting well over a century of use with proper care between refinishes.
Do I have to use the same finish as before when refinishing? Not necessarily, though matching the previous finish type is usually the simplest option. Refinishing is also a good opportunity to switch finish types if your needs have changed.
Is refinishing much cheaper than replacing a solid wood floor? Yes, generally. Refinishing works with the existing boards rather than requiring removal, disposal and new material, which keeps both cost and disruption significantly lower than full replacement.
Can I choose a different colour when refinishing? Yes, staining during the refinishing process lets you shift the floor's colour, and doing it right after sanding gives the most even result since the wood's pores are freshly opened.
How do I know if my floor needs a full refinish or just a light maintenance treatment? If the finish has dulled but the wood underneath is still protected, a light maintenance sanding may be enough. Visible bare wood, deep scratches or extensive staining usually call for a full refinish.