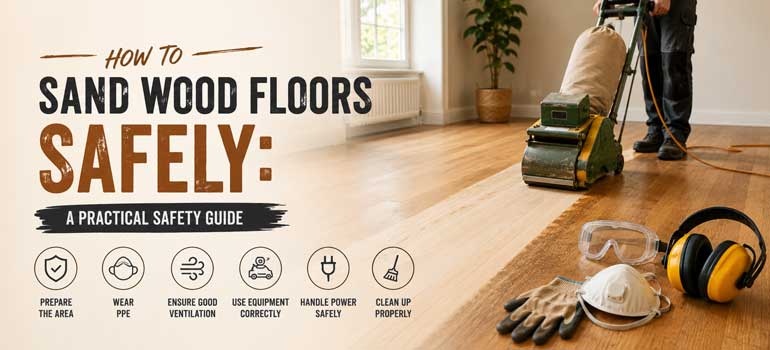
Floor sanding creates two things in large quantities: fine dust and noise, and both come with real risks if you're not set up for them properly. Beyond the basic advice to "wear a mask," there are specific hazards in floor sanding that catch DIYers off guard, including one that causes house fires every year. Here's what actually matters if you're taking on a sanding project yourself.
The main hazards, and how to manage them
| Hazard | Why it matters | How to manage it |
|---|---|---|
| Fine wood dust | Prolonged inhalation of wood dust is a recognised respiratory hazard, and some finish coatings add fine particulates when sanded off | Use a sander with dust extraction, wear a properly rated dust mask (see below), ventilate continuously |
| Dust explosion/fire risk | Fine sawdust collected in a bag or pile can self-heat and, in rare cases, combust; oily sanding pads and finish-soaked rags are a more common cause of house fires | Empty dust bags outside into a metal container, never leave used rags or pads in a pile, spread them out to dry fully before disposal |
| Noise | Drum and belt sanders run loud enough for long-term hearing damage over a full day's use | Wear ear defenders rated for the noise level of the machine, not just foam earplugs |
| Finish fumes | Lacquers, oils and some fillers give off strong solvent fumes as they cure, and some are flammable while wet | Ventilate the room throughout application and curing, keep away from open flames or pilot lights, check the product's safety data sheet |
| Electrical hazards | Sanders draw significant power and are used with long extension leads across a dusty room | Use a residual current device (RCD) if the property doesn't already have RCD protection, check leads and plugs for damage before use |
| Trip and structural hazards | Loose boards, protruding nails or old floor fixings are common in period properties and get exposed once old finish and carpet are removed | Walk the floor and check for loose boards, proud nails or staples before switching the sander on |
Wood dust: why it's more than just a nuisance
Wood dust isn't just uncomfortable to breathe, it's classified as a health hazard with repeated exposure, and the fine dust from sanding a full room can hang in the air for longer than it looks like it does. A basic paper dust mask filters out large particles but not the finest dust generated by sanding; a mask rated FFP2 or higher gives meaningfully better protection for a full day of sanding. Keep the room ventilated throughout, not just during the sanding itself, since dust continues to settle for some time afterward.
The fire risk most people don't expect
This is the part of floor sanding safety that gets skipped most often: the fine dust and residue collected during sanding, and the rags or pads used to apply oil-based finishes, can be a genuine fire risk. Oil-soaked cloths in particular can heat up on their own as the oil cures, sometimes enough to ignite, if they're left bunched together in a bin or a pile. The safest approach is to lay any oil-soaked rags or pads flat outside to dry completely before throwing them away, and to empty sander dust bags into a metal container away from the property rather than a plastic bin liner.
Ventilation matters more than people think
Good airflow does two jobs during a sanding project: it clears dust from the air so it doesn't settle back into the wood before finish goes on, and it helps solvent-based finishes cure evenly rather than staying tacky or clouding over. Open windows and doors on opposite sides of the room where possible to create a through-draught, and use dust sheets to seal off doorways to rooms you're not working in so dust doesn't spread through the property. Rooms with limited natural ventilation, such as basements, may need a portable extraction fan; without it, both dust clearance and finish curing will be slower and less reliable.
Preparing the floor before you start
Before switching a sander on, it's worth walking the whole floor and checking for anything that could catch the machine or cause an injury:
- Punch down any protruding nails or staples below the surface
- Check for loose or squeaking boards and secure them
- Remove all furniture, rugs and fittings from the room
- Clear the floor of grit and debris that could scratch it or clog the sander
- Check the sander's power lead and plug for damage before connecting it
When to stop and call a professional
Some situations are genuinely outside safe DIY territory: floors with suspected asbestos-containing adhesives or backing (common under some older tile and parquet installations), extensive structural movement in the boards, or rooms with poor ventilation and no way to improve it. If any of these apply, it's worth getting a professional assessment before starting rather than finding out partway through. If you'd prefer to hand the whole job over, our team handles the process from floor sanding through to repairs and refinishing, with commercial-grade dust extraction built in. Get in touch for a free, no-obligation quote.
Frequently asked questions
Is a standard dust mask enough for floor sanding? A basic disposable dust mask filters larger particles but not the finest sanding dust. An FFP2-rated mask or better gives more reliable protection over a full day of sanding.
Can floor sanding dust actually cause a fire? Fine dust itself is a minor risk in a domestic setting, but oil-soaked rags and pads used during finishing are a genuine fire hazard if bunched together while still curing. Lay them flat to dry before disposal.
How long should a room be ventilated after applying finish? This depends on the specific product, oil-based finishes generally need longer than water-based lacquers, so check the manufacturer's guidance for curing and safe re-entry times.
Do I need ear protection for floor sanding? Yes. Drum and belt sanders run loud enough over a full day's use to cause long-term hearing damage, and proper ear defenders offer better protection than foam earplugs alone.
What should I do if I find proud nails or loose boards before sanding? Punch nails and staples below the surface and secure any loose boards before switching the sander on. Sanding over exposed metal can damage the machine and throw debris.