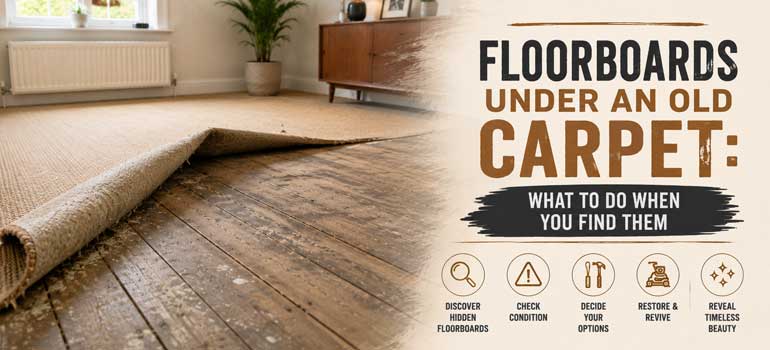
Pulling up an old carpet and finding original floorboards underneath is one of the more pleasant surprises in a London renovation. It's especially common in properties built or renovated between the 1930s and 1980s, when wall-to-wall carpet became the fashion and original wood flooring was simply covered over rather than removed. The good news is that a carpet has usually acted as a protective layer for decades, shielding the boards from UV fading and everyday scuffing, so what's underneath is often in better shape than expected.
What condition to expect
Boards that have spent years under carpet are typically dusty, discoloured in patches, and may show old stains, tack strip marks around the edges, or gaps that have opened up over time. What they usually aren't is structurally ruined; the carpet has kept off foot traffic wear and sun exposure, so the wood itself tends to be sound even where the surface looks rough. That said, it's worth checking for signs the carpet was covering a genuine problem rather than just an outdated look, damp patches, soft or spongy boards, or a strong musty smell can point to moisture issues that need addressing before any cosmetic work starts.
The three-stage restoration process
Bringing boards like this back involves three distinct stages, and skipping or rushing any one of them tends to show in the final result.
Repairs come first. Any missing or broken boards get replaced with a matching profile and, where possible, matching wood tone, and squeaks are traced back to loose fixings and secured. Non-structural gaps between boards are filled with a wood-toned filler, often a mix of fine sanding dust and resin, so the fill blends in rather than standing out as a visible seam once finished.
Sanding follows once the floor is structurally sound. This is the stage that does the real visual transformation, stripping away decades of surface grime, old varnish, tack strip marks and shallow staining, using progressively finer grits to leave a smooth, even surface. It's also where any remaining unevenness between boards of slightly different ages or replacement sections gets levelled out, so the whole floor reads as one consistent surface rather than a patchwork.
Sealing and staining come last. Sealing applies a finish that soaks into the wood and forms a protective layer on top, and this is what actually determines how the floor holds up to years of use going forward. Staining, if you want to shift the colour from the original tone, only works well once the wood is freshly sanded and the pores are open and even; applying stain over an unsanded or unevenly sanded surface tends to highlight every imperfection instead of hiding it.
Deciding whether to keep the original boards or replace sections
Not every board under an old carpet is worth saving, and a professional assessment before work starts is the difference between a floor that restores beautifully and one where money gets spent chasing boards that were always going to need replacing. Boards with rot, extensive insect damage, or splits running the full length are generally better replaced than repaired, while surface-level wear, staining and minor gaps are exactly what the sanding and filling stages are designed to handle. Mixing reclaimed or matched replacement boards with original ones is common in older properties and, done well, is invisible once the whole floor has been sanded and finished together.
If you've just pulled up a carpet and found floorboards underneath, our floor repair service can assess what needs fixing before sanding, and our wood floor sanding team can take it from bare boards to a finished floor. Get in touch for a free, no-obligation quote and we'll tell you honestly what your floor needs.
Frequently asked questions
Are floorboards under old carpet usually in good condition? Often yes. Carpet tends to protect boards from sun fading and everyday wear, so while they're usually dusty and marked, the wood itself is frequently sound underneath.
What are the signs of a bigger problem under old carpet? Damp patches, soft or spongy boards, and a musty smell can indicate moisture damage that needs addressing before any cosmetic restoration work begins.
Can gaps between old floorboards be fixed without replacing them? Yes, non-structural gaps are typically filled with a wood-toned filler during the repair stage, before sanding, so the fill blends into the surrounding boards.
Do I need to sand before staining a different colour? Yes. Stain applied over an unsanded or unevenly sanded surface tends to highlight scratches and imperfections rather than giving an even colour change.
Can mismatched or replacement boards be blended in with the originals? Yes, this is common in period properties. Once repairs are done and the whole floor is sanded and finished together, replacement sections generally blend in with the original boards.