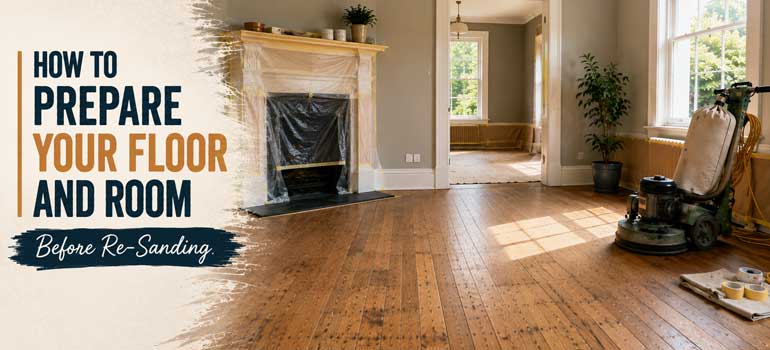
Re-sanding brings older, scratched or damaged wood flooring back to life by removing the worn top layer of finish and wood, leaving a fresh, level surface ready to refinish. Solid wood can typically be sanded up to 5 to 6 times, and engineered wood up to 2 to 3 times, over their lifespans, which is why re-sanding is worth considering periodically rather than only once a floor looks badly worn out.
Sanding itself is fairly straightforward, but poor preparation beforehand is where things go wrong. Skipping proper prep can leave a floor with uneven surfaces, damaged grain, or create fire risk from sanding dust left sitting in corners of the property. Getting the room ready properly is what turns sanding from a risky DIY job into a smooth, predictable one.
Clear the room completely
Start by removing everything from the space: furniture large and small, decorations, artwork, and anything hanging from walls or the ceiling. Even with modern dust-extraction equipment, sanding is never entirely dust-free, so an empty room gives the process the best chance of an even result and makes cleanup considerably easier afterward.
Remove doors and check the floor surface
Anything sitting on or close to the floor gets in the way during sanding, which is why it's worth temporarily removing doors from the room being worked on. Once that's done, inspect the entire floor carefully for raised nails, staples or screws, any of these can tear a sanding belt and cause real damage to the equipment mid-job. Punch anything protruding back below the surface before sanding starts.
Seal off dust from the rest of the house
A checklist worth working through before the sander goes on:
- Cover doorways, vents and windows with heavy tape and plastic sheeting to stop dust escaping into the rest of the property
- Seal electrical outlets in the room, since fine dust can work its way into fittings
- Check for any other gaps around skirting, pipework or fixtures where dust could travel through
- Have protective gear ready if doing the work yourself: a proper dust mask, goggles, and ear protection are all necessary, not optional extras
Plan your sanding path before starting
Once the room is prepped, it's worth thinking through the sanding sequence rather than starting and figuring it out as you go. Sand with the grain, not against it, since sanding across the grain leaves visible marks that are difficult to correct later. Plan a path that avoids tripping over the sander's cord or the vacuum hose, and position all equipment somewhere easily accessible throughout the job rather than having to stop and search for tools mid-task.
Why this preparation actually affects the outcome
None of these steps are about following procedure for its own sake, each one addresses a specific way a sanding project can go wrong. Skipped dust sealing means a much bigger cleanup job and potential fire risk from dust settling in corners; missed nails or staples can damage expensive equipment partway through; and sanding against the grain leaves marks that undermine the whole point of the job. Taking the time here is what separates a smooth, professional-looking result from one that needs correcting afterwards.
If you'd rather leave the preparation and the sanding itself to a professional team, wood floor sanding is something we handle from initial assessment through to the finished floor, including all the room prep covered here. Get in touch and request a free quote and we'll take care of the details.
Frequently asked questions
How many times can a wood floor realistically be re-sanded? Solid wood typically supports around 5 to 6 sands over its lifetime, while engineered wood, with its thinner top layer, generally supports around 2 to 3.
Is dust-free sanding equipment actually dust-free? No equipment eliminates dust entirely, even the best modern extraction systems reduce it significantly rather than removing it completely, which is why sealing off the room still matters.
Why do raised nails or staples need to be checked before sanding? A sanding belt can be torn or damaged if it catches on protruding metal, so punching nails and staples below the surface beforehand protects the equipment and avoids delays.
Does sanding direction actually matter that much? Yes, sanding against the grain leaves visible scratches and an uneven texture that's difficult to correct without further sanding, so working with the grain is worth getting right from the start.
Should I attempt DIY sanding, or is professional preparation worth the cost? Small, low-stakes rooms can be reasonable for a confident DIYer with careful preparation, but larger or more valuable floors often benefit from a professional handling both prep and sanding to avoid costly mistakes.