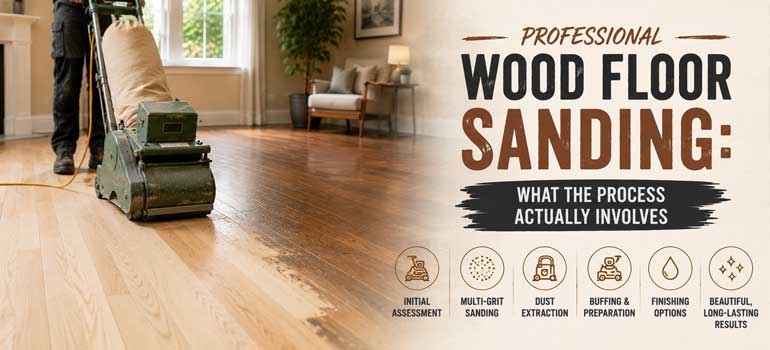
A worn, dull wood floor doesn't need replacing to look new again. Professional sanding strips back the old finish and the top layer of wood, levels out scratches and staining, and leaves a clean surface ready for a fresh lacquer or oil. It's one of the few home renovation jobs where the "before and after" difference is genuinely dramatic without any structural work involved.
What the sanding process actually involves
A professional sander works through the floor in stages rather than a single pass. The floor is sanded with progressively finer grits, starting coarse enough to remove the old finish and level the surface, then finer to remove the marks left by the previous pass, finishing with a smooth pass that leaves the wood ready for staining or sealing. Edges and corners are sanded separately, since the large floor sander can't reach right up against skirting boards or into tight spaces. Once sanding is complete, any gaps or minor imperfections can be filled before the finish goes on.
Choosing lacquer or a different colour
Once the floor is sanded back to bare wood, the finish stage is where the biggest visual choices get made. Lacquer gives a durable, even sheen and is available in different levels of gloss, from matte to high shine. This is also the point where you can change the floor's colour entirely, staining it a different shade before sealing, which means sanding isn't only a restoration step; it's an opportunity to genuinely refresh how a room looks without changing the material itself. Anyone considering a colour change should always test the stain on an offcut or a hidden area of the floor first, since the same product can look noticeably different on different woods.
How long professional sanding takes
Most residential sanding projects take between 2 and 5 days from start to finish, but the exact timeline depends on several factors:
| Factor | Effect on timeline |
|---|---|
| Room size and number of rooms | Larger areas and multiple rooms extend the sanding stage |
| Floor condition | Deep scratches, old thick varnish, or extensive gap filling add time |
| Finish chosen | Oil-based finishes generally take longer to cure than water-based lacquers |
| Humidity and weather | Higher humidity slows drying and curing time for finishes |
| Number of coats | Additional coats mean additional drying time between each one |
Preparing your home before the team arrives
A few things done in advance make the sanding days go more smoothly and help protect the rest of the home from dust. Clear the room completely, including furniture, rugs and curtains where possible, since the equipment needs full access to the floor. Take down or protect anything hanging on nearby walls that dust could settle on, and plan to keep the room, and ideally the rest of the property, closed off from pets and children until sanding is finished and any finish has had time to cure. If you're working with a professional team using dust-free extraction equipment, cleanup afterwards is considerably lighter than it would be with uncontained sanding dust.
If your floor has lost its shine or picked up scratches over the years, our floor sanding service covers the full process from assessment through to the final finish, including colour changes if you're after a different look. Get in touch for a free, no-obligation quote and we'll talk through timescales for your specific floor.
Frequently asked questions
Can I change the colour of my floor during sanding? Yes. Once the floor is sanded back to bare wood, it can be stained a different shade before the finish is sealed on, giving you a genuinely different look without replacing the floor.
Why are edges sanded separately from the main floor area? The main sanding machine is too large to reach right up to skirting boards and into corners, so a separate edging sander handles those areas to get an even finish across the whole room.
How much does humidity affect sanding and finishing time? Higher humidity slows how quickly lacquers and oils cure, which can extend the overall project timeline, particularly for oil-based finishes that already take longer to dry.
Do I need to remove all furniture before sanding starts? Yes, the room needs to be fully cleared so the sanding equipment can access the whole floor evenly, including corners and edges.
Is dust a big problem with professional sanding? With dust-free extraction equipment, dust is captured at the point it's created rather than settling across the room, which makes cleanup afterwards considerably easier than an unextracted DIY sanding.