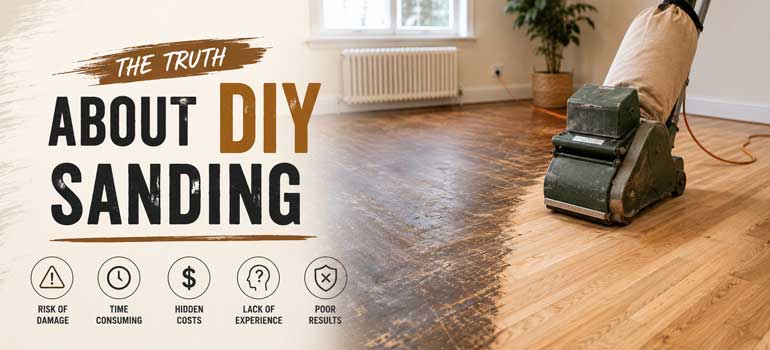
Renting a sander for a weekend looks straightforward on paper, but wood floor sanding is one of the few home renovation jobs where a mistake is genuinely difficult to undo. Once too much material is removed in one spot, or a finish is applied unevenly, the fix usually means a professional has to sand the floor again, deeper than if it had been done right the first time. That doesn't mean DIY sanding is impossible, but it's worth understanding exactly what's involved before renting the equipment.
The equipment a full sanding job actually needs
Most rental shops offer a drum or belt sander for the main floor area, but a complete job typically needs more than one machine:
- A drum or belt sander for the open floor area, which removes material fast and is the machine most likely to leave gouges or dips if handled unevenly
- An edging sander for the perimeter of the room and around fittings, where the drum sander can't reach
- A buffer or orbital sander for the final finishing pass, giving a smoother result before staining or sealing
- A corner tool or scraper for tight corners neither machine can reach
- Dust extraction, either built into the machine or as a separate vacuum attachment, since sanding without it leaves fine dust across the whole property
Renting each of these separately adds up, and most DIY jobs end up using only the drum sander for the whole room, which is where uneven results usually start.
Common DIY sanding mistakes
| Mistake | What causes it | Result |
|---|---|---|
| Dwelling too long in one spot | Drum sanders remove material fast and continuously while running | Visible dips or "waves" in the floor that catch the light |
| Sanding across the grain | Not adjusting technique for board direction or parquet pattern | Scratches that show clearly once finish is applied |
| Skipping grit stages | Going straight to a fine grit to save time | Old scratches and marks aren't fully removed |
| Applying finish too soon | Not testing moisture or letting dust fully settle and clear | Cloudy or uneven finish, bubbling |
| Missing a swap test | Not testing stain or finish on an offcut or hidden area first | Colour comes out different from what was expected |
Why experience matters more than the equipment
A rented sander does the same physical job whether it's operated by a professional or a first-timer, but the skill is in reading the floor as you go: knowing how much pressure to use, when to stop in one area, and how to blend passes so there's no visible line where one pass ends and the next begins. This is especially difficult on floors with variable board width, old repairs, or a parquet pattern, where grain direction changes block to block. Mistakes made during sanding are only visible once the finish goes on, by which point it's too late to simply sand that one section again without it standing out from the rest of the floor.
When DIY sanding makes sense
DIY sanding is more realistic for small, low-stakes jobs: a single small room, a shed or workshop floor, or a floor you're planning to cover with a rug or furniture anyway where minor imperfections won't be visible. It's a harder case for a main living space, a period floor with existing character worth preserving, or any parquet or patterned floor where matching grain direction is part of the job.
If you'd rather see what a professional site visit and assessment looks like before deciding, our floor sanding team can talk through what your specific floor would need, and if something's already gone wrong with a DIY attempt, our floor repair service can usually put it right. Get in touch for a free, no-obligation quote.
Frequently asked questions
Can uneven DIY sanding be fixed without starting over? Sometimes. Minor unevenness can often be corrected by a professional resanding the affected area, but deep dips or gouges may mean sanding the whole floor down further than originally planned to level it out.
Is one sander enough for a full room? A drum or belt sander alone can't reach edges, corners, or areas around fittings, so a full job usually needs an edging sander too, plus a finer finishing pass.
Do I need to remove all the furniture before sanding? Yes. The room needs to be completely clear, and dust extraction should be running throughout to keep dust from settling into open pores in the wood before the finish goes on.
What's the biggest risk with DIY sanding on parquet? Grain direction changes from block to block in a parquet pattern, so a machine sanding in one direction will cut with the grain on some blocks and against it on others, leaving a patchy, uneven finish.
Should I test the finish before doing the whole floor? Yes, always test stain and finish on an offcut or a hidden area first. Colour can come out noticeably different once applied to real wood compared to how it looks in the tin.