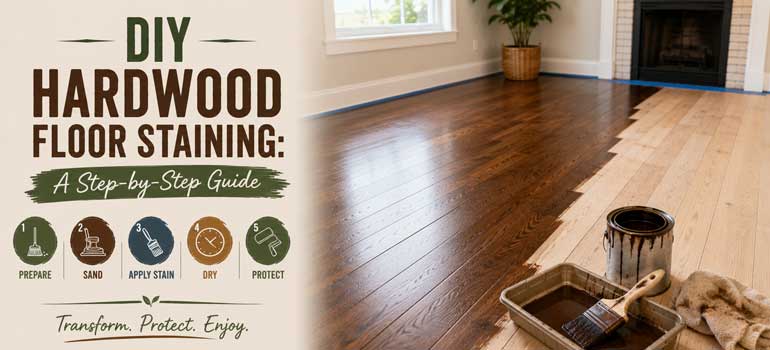
Staining a hardwood floor yourself is an achievable weekend project for a patient DIYer, and it's a good way to learn a technique that carries over to other wood floor care later. It's not a quick job, and the preparation stage matters more than the staining itself, but with the right tools and a careful approach, the result can look properly professional.
What you'll need
- Wood stain, in your chosen shade
- Push broom and a professional-grade vacuum
- Tack cloth for final dust removal
- Rubber gloves
- Belt sander and a floor edger
- Clean rags, sponges and rollers for application
- Latex or resin filler for any gaps
Preparing the floor properly
Preparation is where most of the actual work happens, and it's the stage that determines whether the final stain looks even or patchy. Start by sanding the floor to remove the old finish and any surface imperfections, working through three passes with progressively finer sandpaper, finishing on the smoothest grit. Any gaps or holes should be filled with a latex or resin filler and sanded flush once dry, before the final sanding pass, since anything left unfilled or uneven will show clearly once the stain highlights it.
Once sanding is complete, sweep thoroughly with a push broom, vacuum the whole area, and finish with a tack cloth to lift the finest remaining dust. The surface needs to be as clean as possible before staining begins, any dust left behind gets trapped under the stain and shows as a rough or gritty texture in the finished floor.
The water popping technique
Water popping is worth knowing about even if you don't end up using it: it involves wiping the sanded floor with a damp rag before staining, which opens the wood grain and allows it to absorb stain more deeply, producing a richer, more intense colour than staining straight after sanding. If you use this technique, the floor needs to dry completely before staining starts, applying stain over damp wood causes uneven absorption and a patchy result.
Applying the stain
A few details matter more than they might seem once you're actually applying stain:
- Read the manufacturer's instructions fully before starting, drying times and application methods vary between products
- Ensure good ventilation throughout, stain fumes can be strong in an enclosed room
- Stir the stain periodically while working to keep pigmentation consistent across the whole floor
- Apply with rags, sponges or rollers, always working in the direction of the grain
- Wait 5 to 10 minutes after covering an area, then wipe off excess stain with clean rags, longer soaking time gives a darker final colour
Working in manageable sections rather than the whole room at once helps keep the timing consistent between application and wiping, which is part of what keeps the colour even from one end of the room to the other.
Sealing after staining
Once the stain has fully dried, it needs protection to last, several coats of a durable finish such as polyurethane are the standard choice for sealing stained hardwood, giving the colour long-term durability against foot traffic and everyday wear. Skipping this step, or applying too few coats, leaves the fresh stain vulnerable to wearing unevenly in high-traffic areas much sooner than it should.
Where DIY staining tends to go wrong
Even careful DIYers run into a few recurring issues: uneven sanding leaving visible dips that show through the stain, missed dust before application creating a rough texture, and inconsistent timing between application and wiping producing blotchy colour variation across the room. None of these are difficult to avoid with attention to detail, but they're exactly what separates a slightly uneven DIY result from a professional one. If a first attempt doesn't go to plan, wood floor sanding can correct it by removing the uneven stain and starting again properly.
If you'd rather have the staining and sealing done professionally, or you'd like advice before attempting it yourself, get in touch for a free no-obligation quote and we'll talk through the options.
Frequently asked questions
Do I really need to sand three times before staining? Working through progressively finer grits, typically three passes, gives the smoothest possible surface for even stain absorption. Skipping stages can leave visible marks that show through the stain.
What does the water popping technique actually achieve? It opens the wood grain before staining, allowing deeper stain absorption and a richer, more intense final colour compared to staining straight after sanding.
How many coats of polyurethane should go over stained hardwood? This varies by product, but several coats are standard for durable, long-lasting protection. Always follow the specific manufacturer's guidance for your chosen finish.
Can uneven DIY staining be fixed without starting completely over? Often yes. Sanding the stained area back down and reapplying stain can correct patchy or uneven results, though this does mean redoing the affected section.
Is DIY staining realistic for a full room, or just small areas? It's achievable for a full room with patience and careful preparation, though larger areas increase the risk of timing inconsistencies between application and wiping affecting colour evenness.